How to use Number/Date sorting in PBIVizEdit visuals
Prerequisite:
- Once you open the sorting dialog, please proceed further with sorting steps.
To know how to get the sorting dialog, go to this page.
Step 1
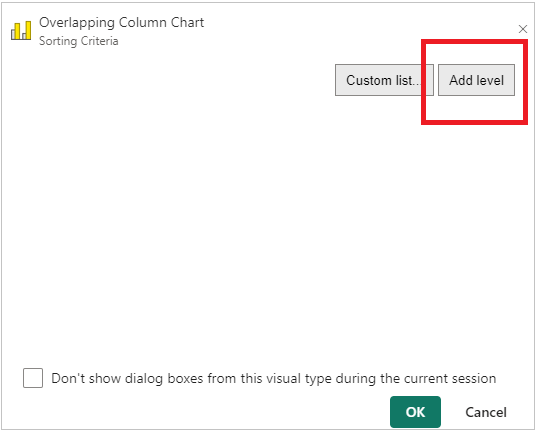
Click ‘Add level’ button to add the sorting criteria to the data field. If your data is numbers, then follow Step 2, If your data is date, then follow Step 3.
Step 2
a. If you map number-based data field in Power BI visualization Pane, then you can select the suitable sorting criteria as follows:
- Low to High (data is arranged in ascending order)
- High to Low (data is arranged in descending order)
- Low to High (ignore sign) (data is arranged in ascending order by ignoring sign, like '+', '-', etc)
- High to Low (ignore sign) (data is arranged in descending order by ignoring sign, like '+', '-', etc)
For example, select the data field ‘Actual Sales’ that you want to sort, and then select ‘High to Low’ sort criteria from Numbers/Date section as shown below:
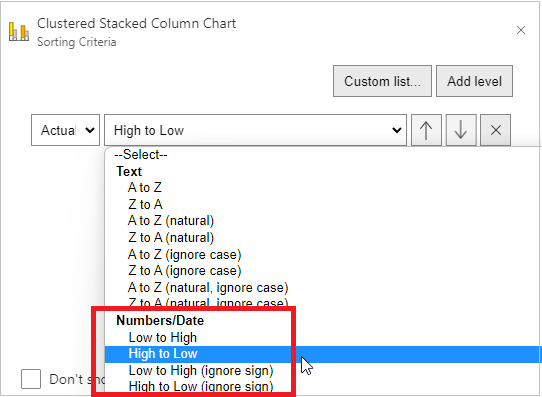
b. Click OK button to apply the sorting.

Step 3
a. If you map date data field in Power BI visualization Pane, then you can select the suitable sorting criteria as mentioned in the step 2.
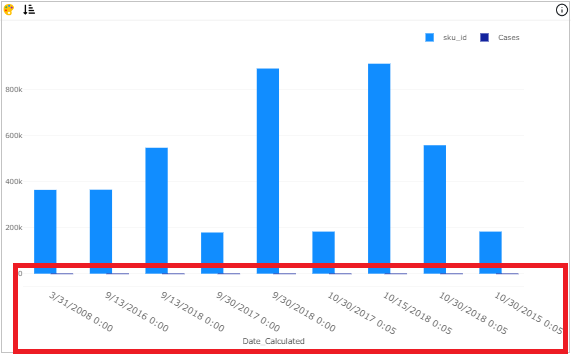
For example, select the data field ‘Date_Calculated’ that you want to sort, and then select ‘Low to High’ sort criteria from Numbers/Date section as shown below:
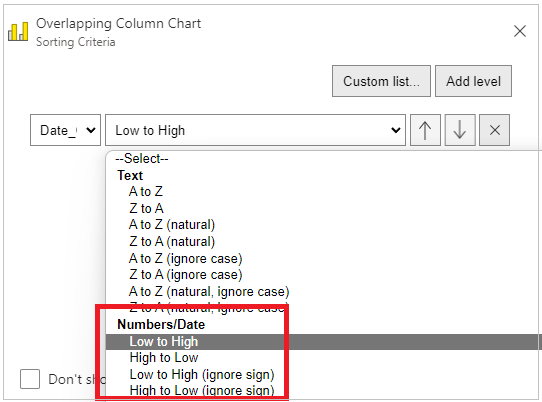
b. Click OK button to apply the sorting.